Showing posts with label Catherine Pooler Inks. Show all posts

Thursday, 20 January 2022

Big and Bold Winter Wishes Snowflake - Colorado Craft Company

Hello everyone,

I hope this week is being kind to you!

It's Sue here today to show you some Christmas cards (because I am never done with Christmas)!
I absolutely loved making these.  The layout was inspired by Colorado Craft Company DT (BIG thanks to them for being amazing) - but for my cards, I created my own backgrounds and used some odd bits of old design paper.
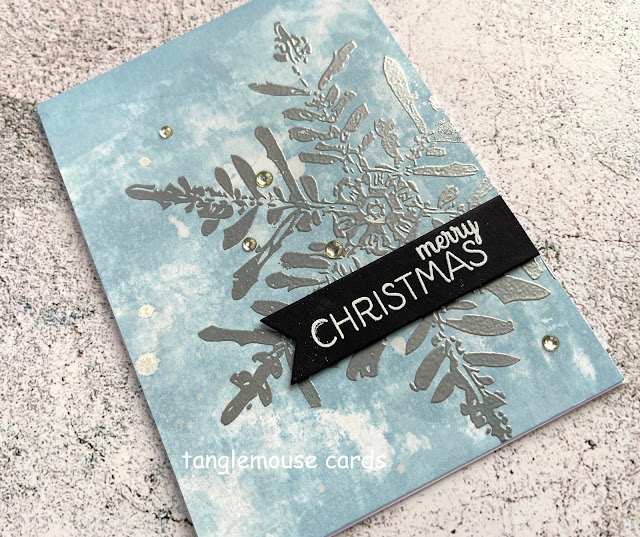
My favourite of this set was heat embossed in silver onto a background I created by using a brayer to add Stoneblue Catherine Pooler Ink onto card.  I then lightly splashed the card with white acrylic paint.

I finished the card by adding a white heat embossed sentiment on black card and some clear droplets.  (I cut little banners myself)
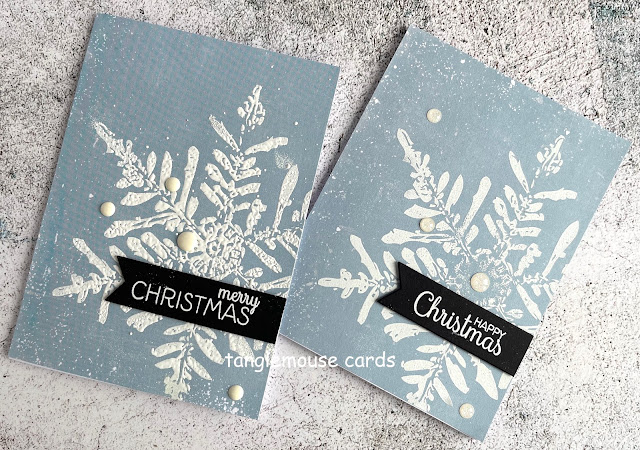
These two are stamped onto a rather ancient piece of design paper - I knew I kept it for a reason! 
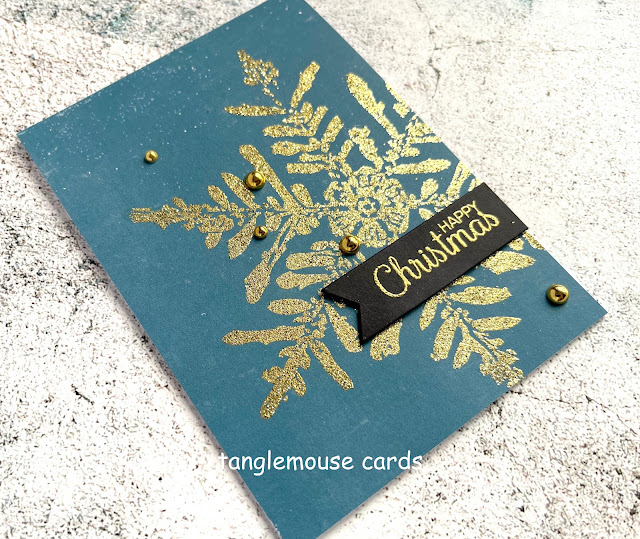
...and to mix it up a bit I stamped this one onto another senior piece of design paper and heat embossed it in glittery gold embossing powder, finally adding some gorgeous gold droplets.

Ingredients from Dies To Die For
Colorado Craft Company Big and Bold Winter Wishes Snowflake
Catherine Pooler Stone Blue Ink Pad
as and alternative you could use 
which have both gold, white and clear drops!

Thank you for popping by today!  happy creating
from Sue...xxx
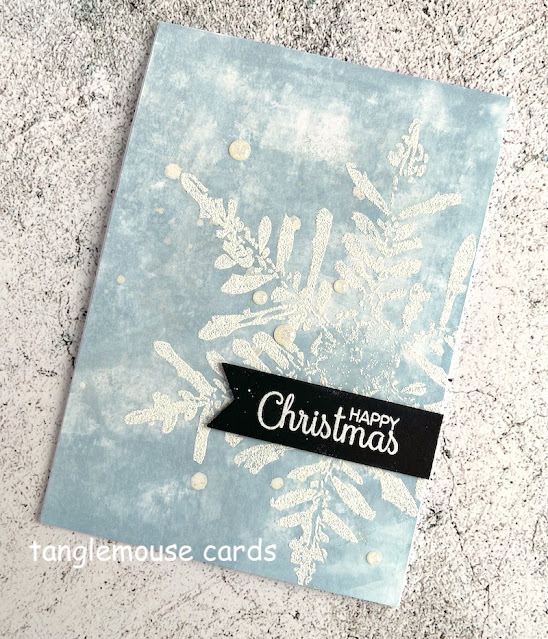
Other Ingredients
White Acrylic Paint
WOW Slow drying Embossing Pad
WOW White, Silver, Gold Glitter Embossing Powder
Black Cardstock 


Sunday, 28 March 2021

Easter Honey Bunnies!...

 Happy Sunday friends!...
Hands up! - who forgot that the clocks sprang forward an hour! /-; 

I 'm here today (an hour late)!... (:
with some simple Easter cards made with quite possibly my most favourite bunny image EVER!
from fabulous 
I coloured these cuties a while ago and finally found time to turn them into a set of Easter cards.

The Honey Bunnies are stamped in grey ink onto Bockingford Card.  I then masked them and gently inked the backgrounds with Catherine Pooler Inks.  (I'll try and remember which colours and guess them below for you).  I splattered a bit of water on the backgrounds to add texture.

I coloured the bunnies with Prismacolor pencils - it was a while ago and I did nt make a note of the colours at the time.  If you want to try this then perhaps practice some brown and grey blends first to see which you like!

I die cut the cards with a standard 7.5cm x 9.5cm rectangle die and added a sentiment from the Honey Bunny Stamp Set.

So - that's me with Easter covered! (:
Catherine Pooler Inks in

Thank you for popping by today.
Have a lovely Sunday.
from Sue...xxx

Monday, 15 June 2020

Barnyard Squares - Whimsy Stamps ...

Hello everyone

It's Sue here today to show you a fab new release item from Whimsy Stamps


I don't do very much 'no line' colouring because to be honest I just can't see the lines! I had great fun having a go with this sweet image though!  

I stamped the image onto white card with Inkon3 Fadeout No line Coloring Ink and coloured it with Copic markers
Cow - C0, C1, C2, N9, N7, N5, R32, R30, R000
Flowers - V17, V25, V12
Greenery - YG67, YG63, YG03
Sky - BG000, BG0000

Then I trimmed the image along the outline into a square and set it aside.

I created a 13cm square card blank and fixed a piece of design paper from the beautiful
to it.  I added a piece of ribbon across the centre fixing it to the reverse with tape.

Then I die cut white card with the largest banner from the 
and fixed that to the top centre of the card design with foam tape

I die cut a piece of white card with the 9cm die from the 

I left the card in the die and blended blue and green ink over it as shown.
Next I die cut a 5.5cm square of white card to sit just inside the circle and blended ink over it in the same way.

I then layered the square and the image onto the circle fixed it firmly to the banner as shown.

Finally I die cut one of the  
and stamped a sentiment from the Barnyard Squares set onto it.  I fixed the strip to the bottom right hand side of the card design as shown.

*NEW Barnyard Squares Clear Stamps - Whimsy Stamps *NEW 6x6 Paper Pack - Eggstra Bunnies - Whimsy Stamps Shaker Maker Banner Die Set - Whimsy Stamps
 Pierced and Stitched Circles Die Set - Whimsy Stamps Quick Strips Die Set - Whimsy Stamps

Thursday, 30 April 2020

Calories Schmalories...

Hello everyone,

It's Sue here today with a scrummy card - I do love cupcakes!

This week, I'm playing with
Calories Schmalories Clear Stamps
Birthday Word and Shadow Die Set
Sprinkles Stencil
This cute cupcake from the
has been watercolored with Catherine Pooler Inks 
and mounted on a Catherine Pooler Ink blended background
embellished with the 

I have the created a circular card design, as shown, with 

I added the 
sentiment 
and used the happy sentiment from the 
Calories Schmalories Clear Stamps
die cut with a 
Quick Strips Die 

 Finally I added a few dots of 
Star Dust Stickles
Be sure to have a look around our
to see the gorgeous DT creations there and then to 
to engage in some essential retail therapy!

Thank you for popping by today!

I hope you are all managing to stay safe and healthy in these uncertain times!

Happy Crafting

From Sue…xxx

Calories Schmalories Clear Stamps - Whimsy Stamps Sprinkles Stencil - Whimsy Stamps
   Birthday Word and Shadow Die Set - Whimsy Stamps Quick Strips Die Set - Whimsy Stamps
 Stickles Glitter Glue - Star Dust - Whimsy Stamps

Thursday, 5 March 2020

You are loved...

Hello everyone!

It's Sue here today to show you a fabulous product from Whimsy Stamps which has just arrived in store!

I absolutely loved making this card, it is something a little different for me but I enjoyed getting inky!

I cut a rectangle of watercolour card and used a die from the 
tomato the bottom edge curvy.

Then splattered ink across the card.  (Catherine Pooler Ink pad in Samba dabbed on my glass mat, spritzed with water and splattered with a largish paint brush)

Next I die cut a selection of hearts using the 
(I used the same water colour card)

Leaving the hearts in the dies I blended ink over them - I love that technique, it leaves a really nice border around the die cuts! 
I used Catherine Pooler Ink pads in Samba and Over Coffee

I the fixed the hearts across the centre of the splattered card.  I glued some directly to the back ground and fixed a few with foam tape to add depth.

I stamped the you are loved sentiment from the 
across the bottom of the design in black ink

Finally I tied some twine around the top of the card design and layered it onto a rectangle of kraft card.
Be sure to have a look around our
to see the gorgeous DT creations there and then to 
to engage in some essential retail therapy!

Happy Crafting

From Sue…xxx

*NEW Primitive Shaker Shapes Die Set  Wavy Edgers Die Set  You Are Clear Stamps


Thursday, 20 February 2020

Love is a magic potion...

Happy Thursday friends!

Sue here today!

I made this card with the fabulous 
Stamping Bella Love Potion Oddball Rubber Stamp

This card was such fun to make!  

I made it for a colouring technique feature in January's issue of Making Cards Magazine.  If you want to find out more about how I coloured this image and created a glow then follow the link

Ingredients from Dies To Die For

Other Ingredients
White card for card blank (I use Craft UK Premium 300gsm from Limetree Crafts)
White Card Suitable for Alcohol Markers (I use make it Colour Blending Card by Elaine Hughes)
Alcohol Markers (I used Copics - Glow YG17, YG23, YG06, YG00, Skin E04, E11, E00, E000, Eyes, BG01, BG000, Hair BV04, N8, N6, N4, Frock E59, E83, E81, Tights R83, R81, N6, N4, Shoes, W7, W5, W3, Ground, W3, YG00)
Flirty Flowers 6 x 6 paper pack by Sunny Studios
1mm foam by Stix2
White Gel Pen (I use Uni-Ball Signo)


Be sure to have a look around our
to see the gorgeous DT creations there and then to 
to engage in some essential retail therapy!

Thank you for popping by!
Happy crafting
from Sue...xxx

Friday, 7 February 2020

So Sweet Syeda...

Hello everyone!...

I was absolutely over the moon to see that my friend 
is designing for Whimsy Stamps!

I absolutely love her Polka Dot Pals collection, they are so beautiful,
here is a card I made with 
- because who can resist a spotted pig right???

All the products I used to make this card are available at our lovely
Dies To Die For

I die cut a rectangle of Kraft Card with the largest die from the
and blended Catherine Pooler Ink in Samba over it.  The cloud template was created with a die from the 

I then die cut some strips of Kraft card for the ground using the 
and the 

I stamped beautiful Syeda onto card suitable for alcohol markers 
coloured her with Copics and cut her out.

Skin - E04, E11, E00, E000
Eyes - YG03
Hair - BV04, N6, N8, 100, Black Pencil
Clothes - R05, R02, R12, YR000, E43, E41, White Gel Pen
Spotted Pig! - W8, W6, W4, W2, E37, E35, E33, R12

I then fixed Syeda to the right hand side of the card design with 
and added twine which I secured at the back with tape.

With Black Ink I stamped the too sweet sentiment from the 
in the top left hand corner as shown

I layered the design onto a piece of design paper from the 
and added some
to finish.
Be sure to have a look around our
to see the gorgeous DT creations there and then to 
to engage in some essential retail therapy!

Happy Crafting

From Sue…xxx

Polka Dot Pals Syeda Clear Stamps  Wonky Stitched Rectangles Die Set  Grass and Cloud Edger Die Set  Wavy Edgers Die Set


Happy Headlines Clear Stamps  6x6 Paper Pack - Mermaid  *NEW Summer Breeze Enamel Dots